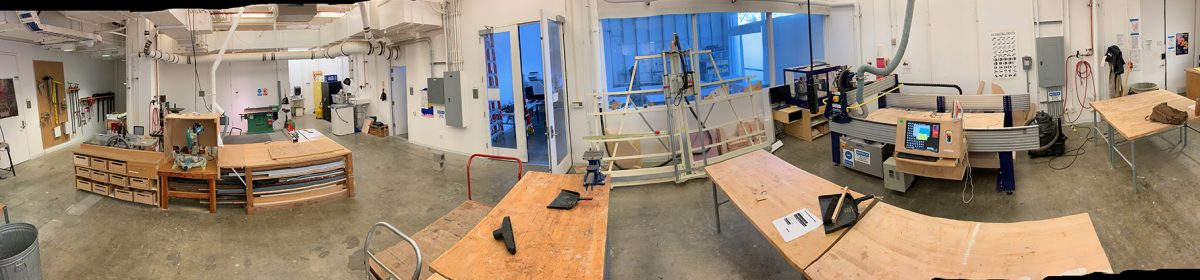
ShopBot software, bits, and buttons
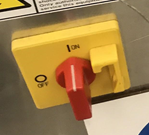
- Turn the red button at the bottom of the machine to “on.”
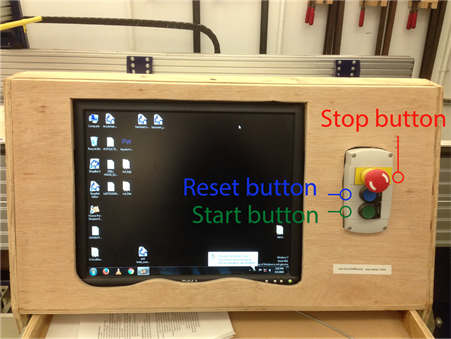
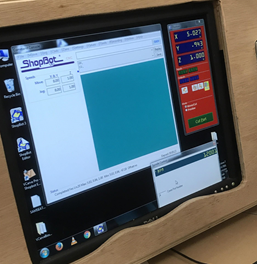
2. Immediately after, hit the blue reset button next to the monitor. Open the ShopBot software. Two windows will pop up: Position and Command.
3. Open the ShopBot software. Two windows will pop up: Position and Command.

4. Click on the yellow box on the position window to open the keypad. Use this machine arm (spindle).
5. Feel free to drive the spindle so you have more space to attach your material to the table.
6. Move the spindle back toward the end of the CNC closest to the electronics lab (away from Jonathan’s office). Watch out! Do not move too close to the edge of the machine. Now you are ready to insert the bit.
To insert the bit
- Loosen the collet nut using two wrenches. The bit may drop out, so make sure it does not roll and fall to the ground. Both wrenches belong in the plastic bin below the CNC. The larger one attached to a key may be found on the side of the CNC. Squeezing these two wrenches into each other — means that the upper wrench goes counter-clockwise and the lower wrench goes clockwise.
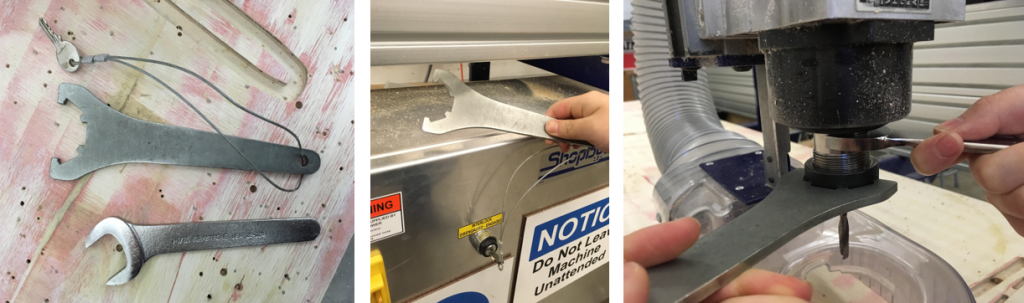
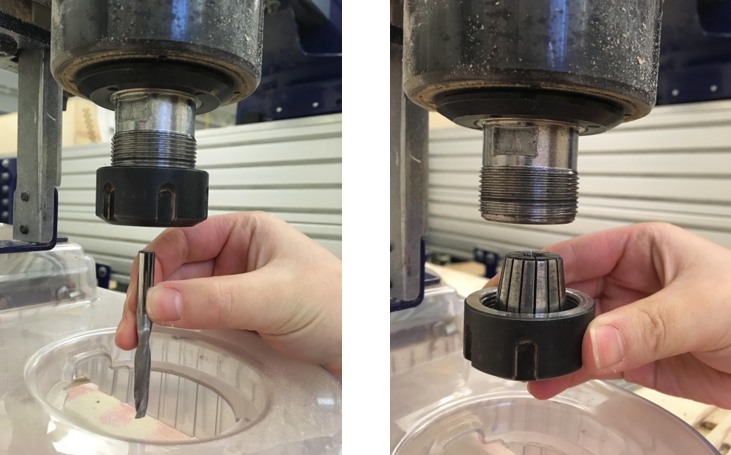
- If you are changing to a bit that has different diameter size, remove the collet nut from the spindle. You will see the collet is inside the nut. To remove it, use your thumb to push the collet to the side; this will move the collet out of the nut’s lock.
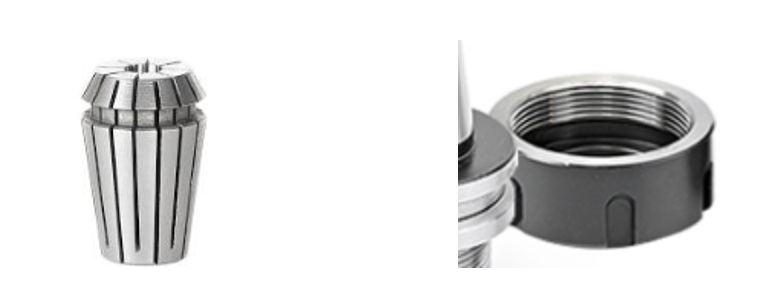
- <collet < collet nut
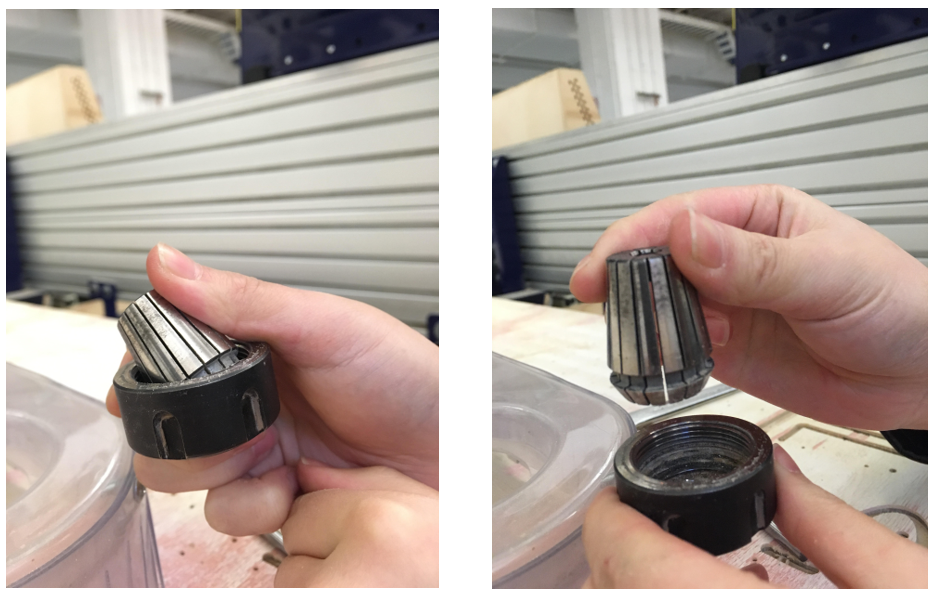
- Pick collet that nice firm with your bit
- Push the new collet into the nut, and put both of them back into the spindle. Then, insert the bit inside about a quarter of an inch from the collet. Tighten the nut. Don’t forget to pick the bit with the right cut length for the depth you want to cut.
- To tighten the nut, squeeze the two wrenches toward each other.
7. Now, go back to the computer. Zero the (x,y) by driving the spindle to your desired (0,0) position using the yellow control pad on the desktop, or insert coordinates and hit “go to” to move the spindle. Carefully move the spindle to the spot you want to set as the starting point, which you should have already assigned previously (Vcarve Pro).
8. Do not forget to close the keypad before using Command window.
9. Now, move the Command Window. From the control bar at the top, select Zero > zero [2] xy to reset 0 for the spot.
10. Now, we will zero the z-axis. Remove the aluminum plate from its spot above the spindle. Drive the spindle so the end mill is above the material. Take care that the spindle is high enough not to hit your material.

Then, place the aluminum plate, which can be found above the spindle head, on top of your material. Use metal weights to hold the aluminum in place. These can be found underneath the CNC. Finally, clamp the alligator clip to the end mill.
11. Go to Cut -> C2 zero z axis with z zero plate. The spindle will move up and down to the plate and the software will reset the z point.
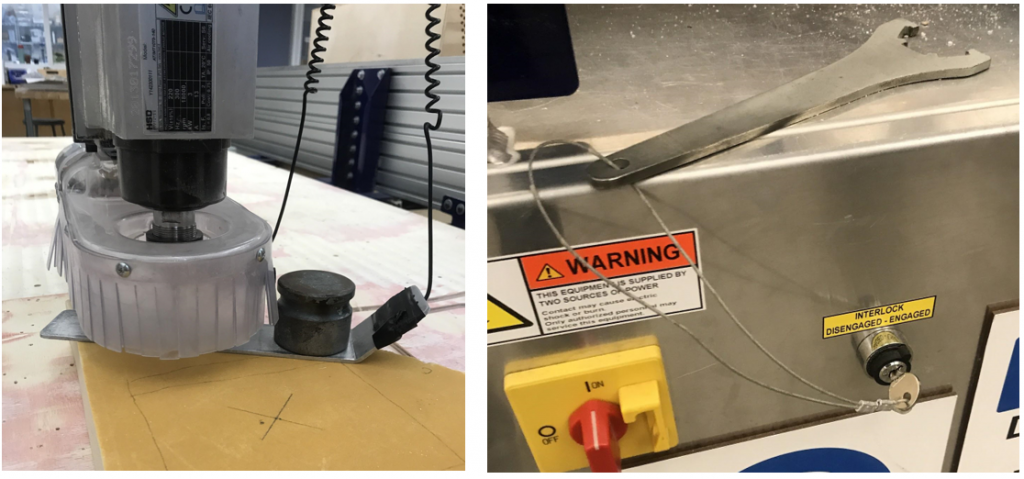
12. Put the key attached to the larger wrench into the machine and turn it on.
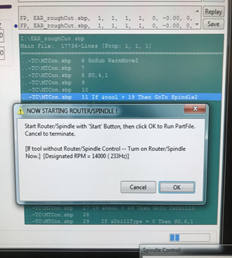
13. Now we will warm up the spindle. Go to Tool > spindle rpm control > undercut spindle warm up routine. DO NOT hit “OK” when the pop-up appears. First press the green button next to the monitor, then press “OK” on the pop up. You will see the software running the code after this step.
14. Wait until the machine turns quiet again and the software stops running any code lines. Then, turn on the dust collector and slide the dust tube on the CNC machine open. Set back the spindle .x and .y to 0.0. Set the Mode to Preview in the Position window, and click the green Cut Part button. A window should pop up and allow you to choose your cut file, (should be roughing path first and finishing path second). Once the file has been loaded, click start.
15. The software will show the preview screen in another window. Check if everything looks good. When ready to cut, select move/cut and it will load the file again. Click ok for the first prompt that asks about the bit. Then, the second prompt will give a warning about the green button. You have to first press the green button, then click ok.
16. The machine will now start cutting your model. If this cut makes a lot of dust and will take a long time to finish (for instance, a foam cutting), you can use vacuum to suck the dust out. Watch out for the moving spindle while using the vacuum pipe!
17. If you need to change the bit after finishing this cut, remember to zero the z again so the machine can calculate the new depth for the next cut.
** if you need to pause the work while the machine is cutting, press the spacebar. The bit will go up and give you time to check things. To resume, press the green button and click resume on the pop up.