
Calculated toolpaths can be previewed to see exactly what they will produce when cut into the material. The 3D preview mode also allows you to view different material types and visualize the machined regions with a Fill Color. (Left click = rotate, middle click = pan, right click = zoom)
(1) Material and Rendering Settings
The pull-down list offers a range of material types to shade the 3D model. The first entry in the list is ‘Use Solid Color’ and if this is selected the color for the material can be selected from the color picker form.
See Adding Custom Materials below for adding your own materials.
(2) Machined Area Color
- Material Color
- With this setting, the areas of your preview will simply be colored using the material defined above.
- Global Fill Color
- Paints all the machined regions with the selected color. Selecting the associated pull-down list opens the default color selection form. Click on one of the preset colors, or click More Colors… to create a completely custom color.
- Toolpath Color
- If this option is selected, each toolpath can have a different color assigned. If the ‘No Fill’ option is selected from the color picker form, the current toolpath will be shown in the material color.
(3) Toolpath Preview Tools
- Animate preview
- This option will show the material being removed by the cutter as the preview is drawn.
- Draw tool
This option will show a wireframe animation of the tool (to scale) cutting the job.
- Preview Toolpath
- This option animates the selected toolpath cutting into the material
- Preview Control Simulation
- The preview controls provide full video-like playback control of your toolpath. You can use this mode to analyze the tool movement in detail, step-by-step. To begin using Preview Control, click on either the Run, Single Step or Run to Retract buttons.
The Preview Control buttons are summarized below:

Run Begins Preview Control Simulation

Pause Temporarily halts the tool in its current position and enables the Stop button so you can exit Preview Control mode

Single Step Moves the toolpath on by one tool move

Run to Retract Runs the toolpath to the next retract move, then pauses the tool

Stop Exits Preview Control mode
Note: To cancel the process of previewing a toolpath using Preview Control, first click the Pause and then the Stop buttons.
- Preview All Sides
- This option animates all calculated toolpaths cutting into the material on both sides if working in a two sided environment without being in the ‘Multi Sided View’ mode (This option will be grayed out if working in a single sided setup)
- Preview All Toolpaths
- This option animates all calculated toolpaths cutting into the material
- Preview Visible Toolpaths
- This command allows you to identify a subset of toolpaths to be simulated, quickly and easily:
- Isolate the toolpaths you wish to preview by un-ticking the visibility checkboxes of the other toolpaths in the Toolpath List.
- Verify that the 3D View is only displaying the toolpath previews of the toolpaths you are interested in.
- Click Preview Visible Toolpaths to begin the simulation.
- Reset Preview
- Resets the material back to a solid block
- Save Preview Image
- Saves an image of the 3D window as a BMP, PNG, JPG or GIF file
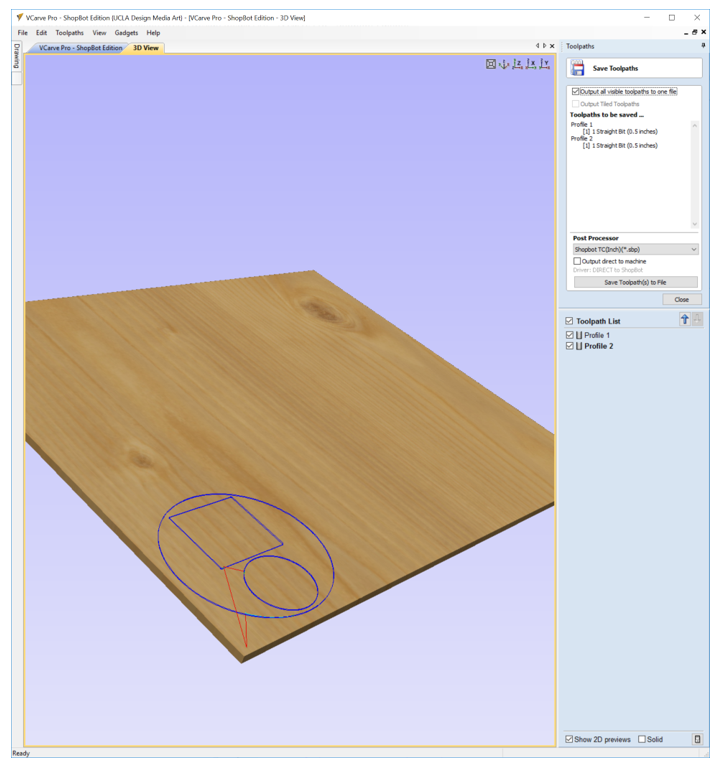
(4) Save toolpaths floppy disk icon, then transfer them by USB to the computer next to the CNC.
- You should order your toolpaths in order of minor to major cuts: first holes, then pockets, then profile cuts.
- If you are cutting multiple toolpaths with one end mill, you can save them together.
- Toolpaths using different end mills should be saved to different .sbp files.