General notes
- This cut was a combination of 3 cutting operations:
- A 3D Pocket
- A Morphed Spiral
- A 2D Contour
- The pieces were machined out of a single piece of ½” aluminum stock
- IMPORTANT: be careful with Adaptive Clearing strategies. They can produce toolpaths that collide the bit against the stock, breaking the bit. Make sure to carefully review and simulate the toolpath to make sure the generated operation is OK.

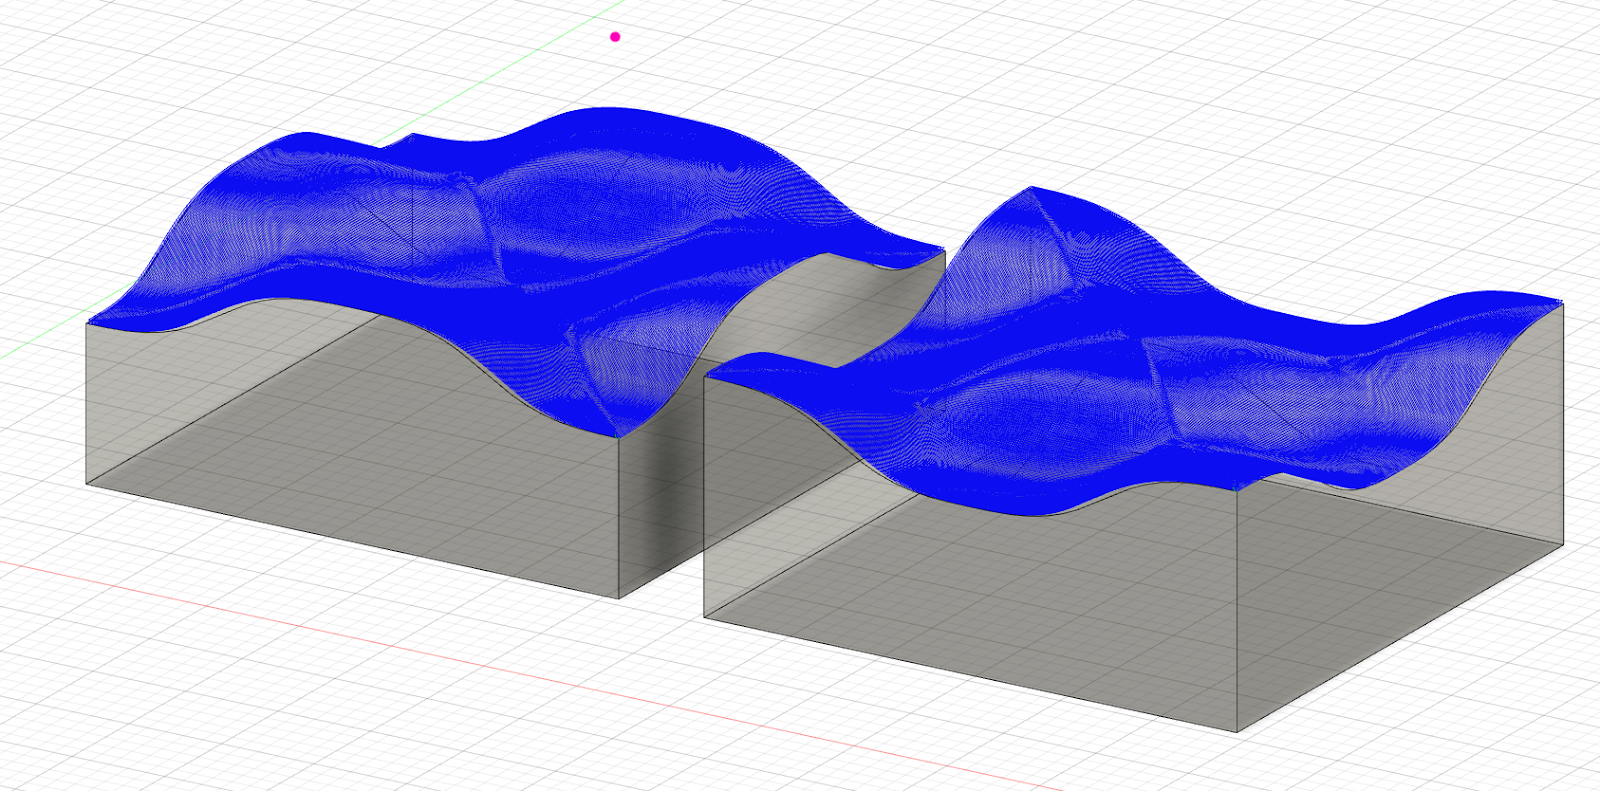
The initial 3D model in Fusion 360
3D Pocket operation
- This cut was performed with a ⅛” flat end bit
- This milling strategy can be found under Manufacture > Milling > 3D > Pocket Clearing (IMPORTANT: do not confuse with the 2D Pocket strategy)
- This operation removes the majority of the material above the curved surface of the model, generating a rough shape that we will later smooth out
- In this particular operation, the Machining Boundary was bound to the bottom square profiles of the model, and the Tool Containment was set to Tool center on boundary
- The Radial and Axial Stock to Leave were set at 0.2 mm
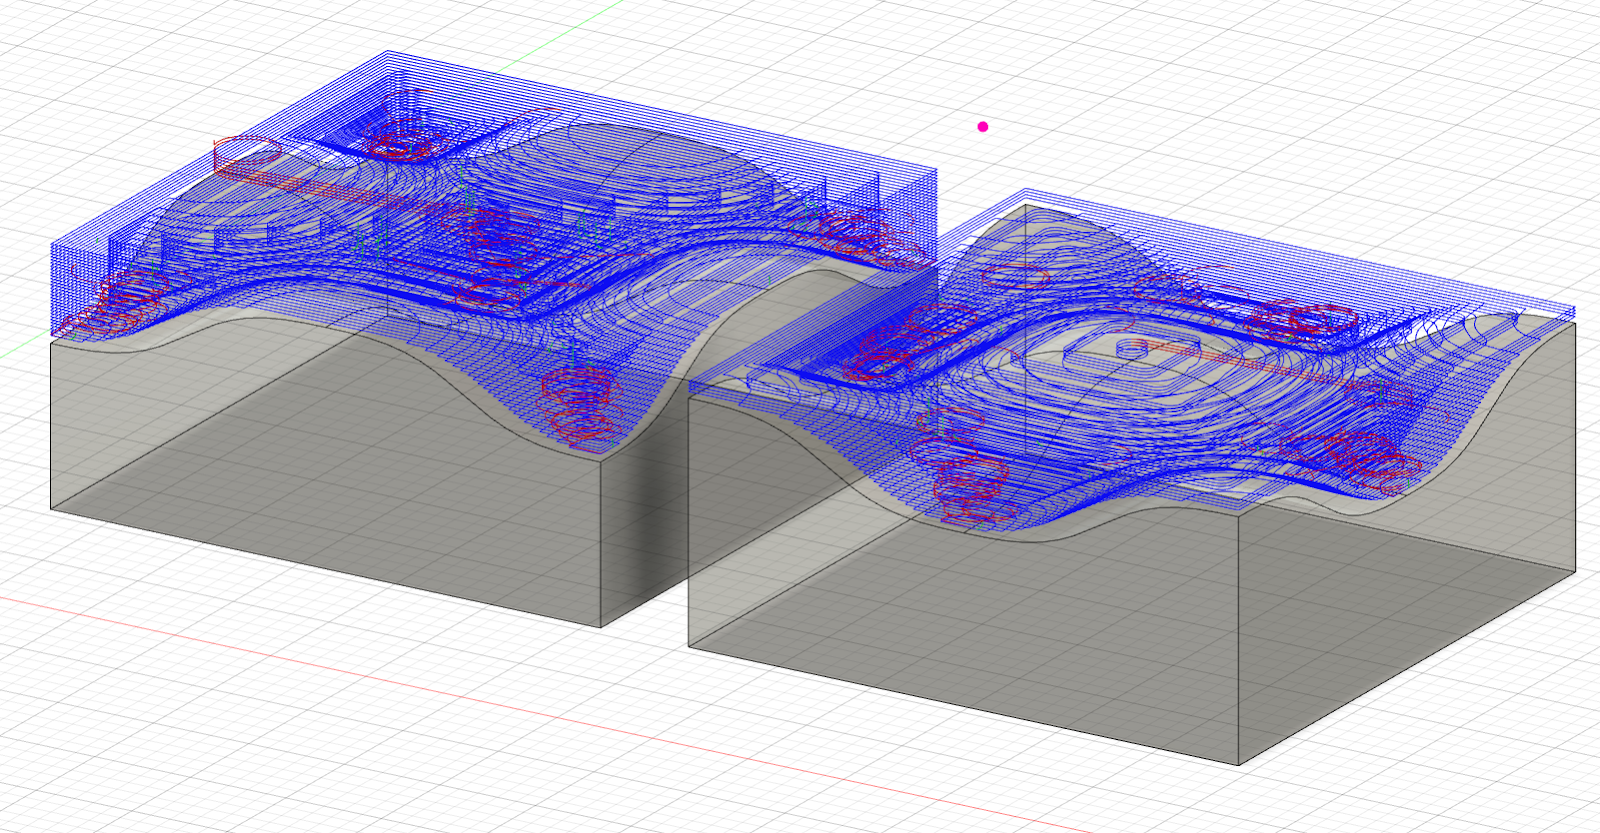
Simulation of the 3D pocket in fusion 360
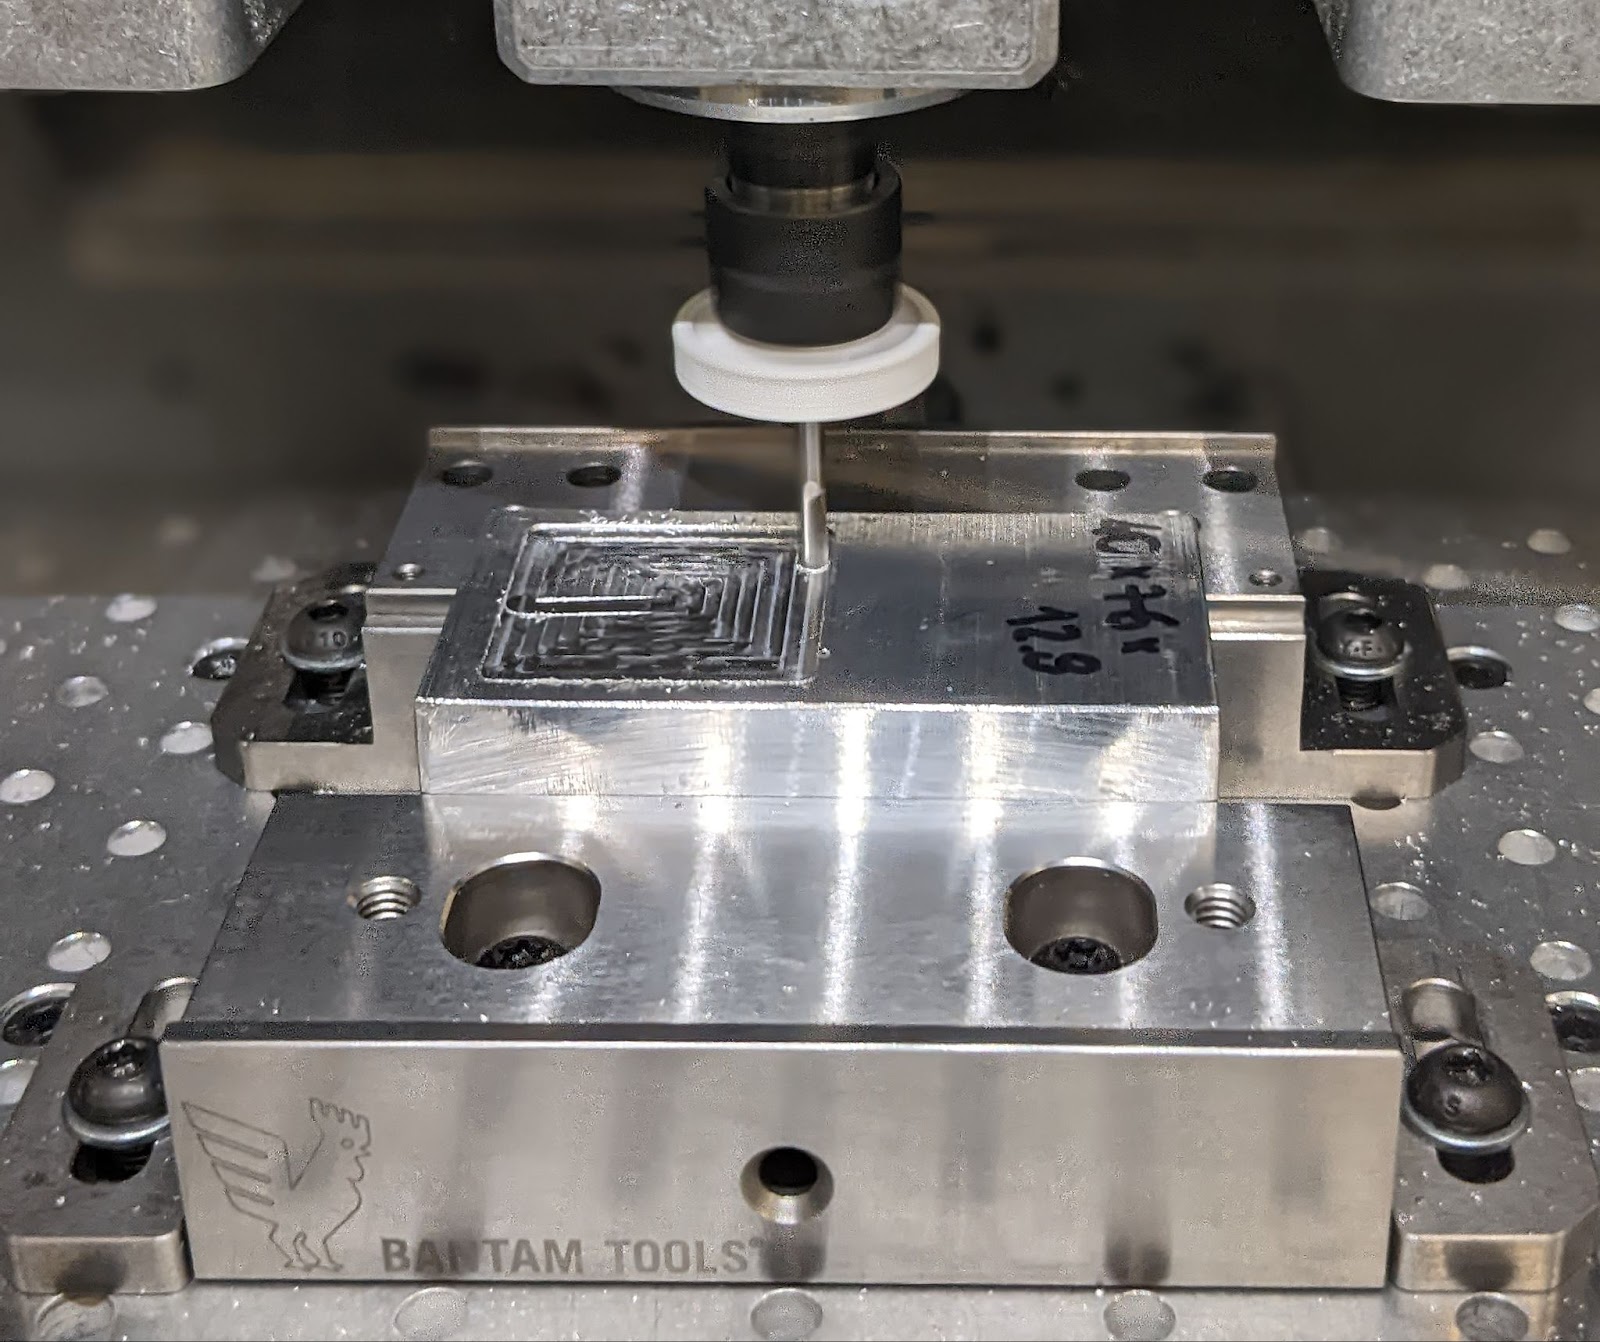

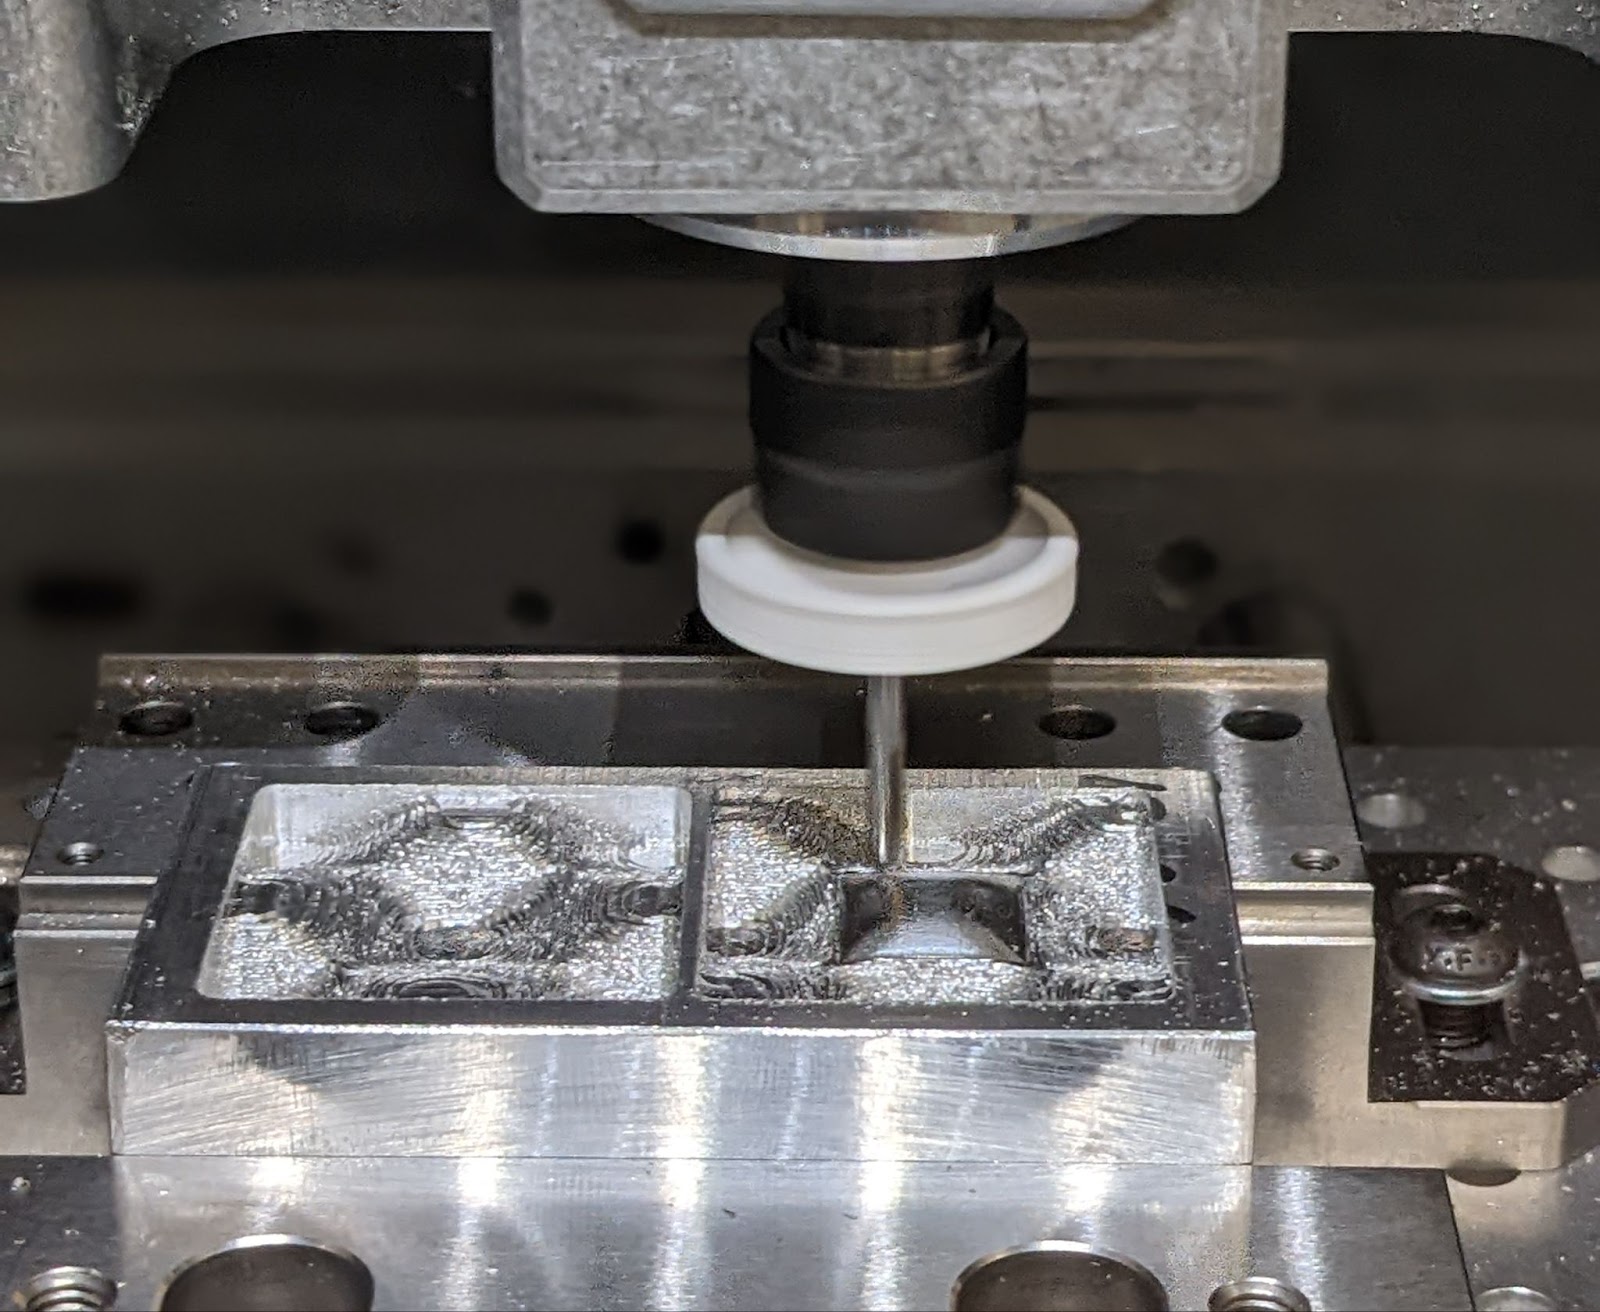
Starting the 3D pocket operation
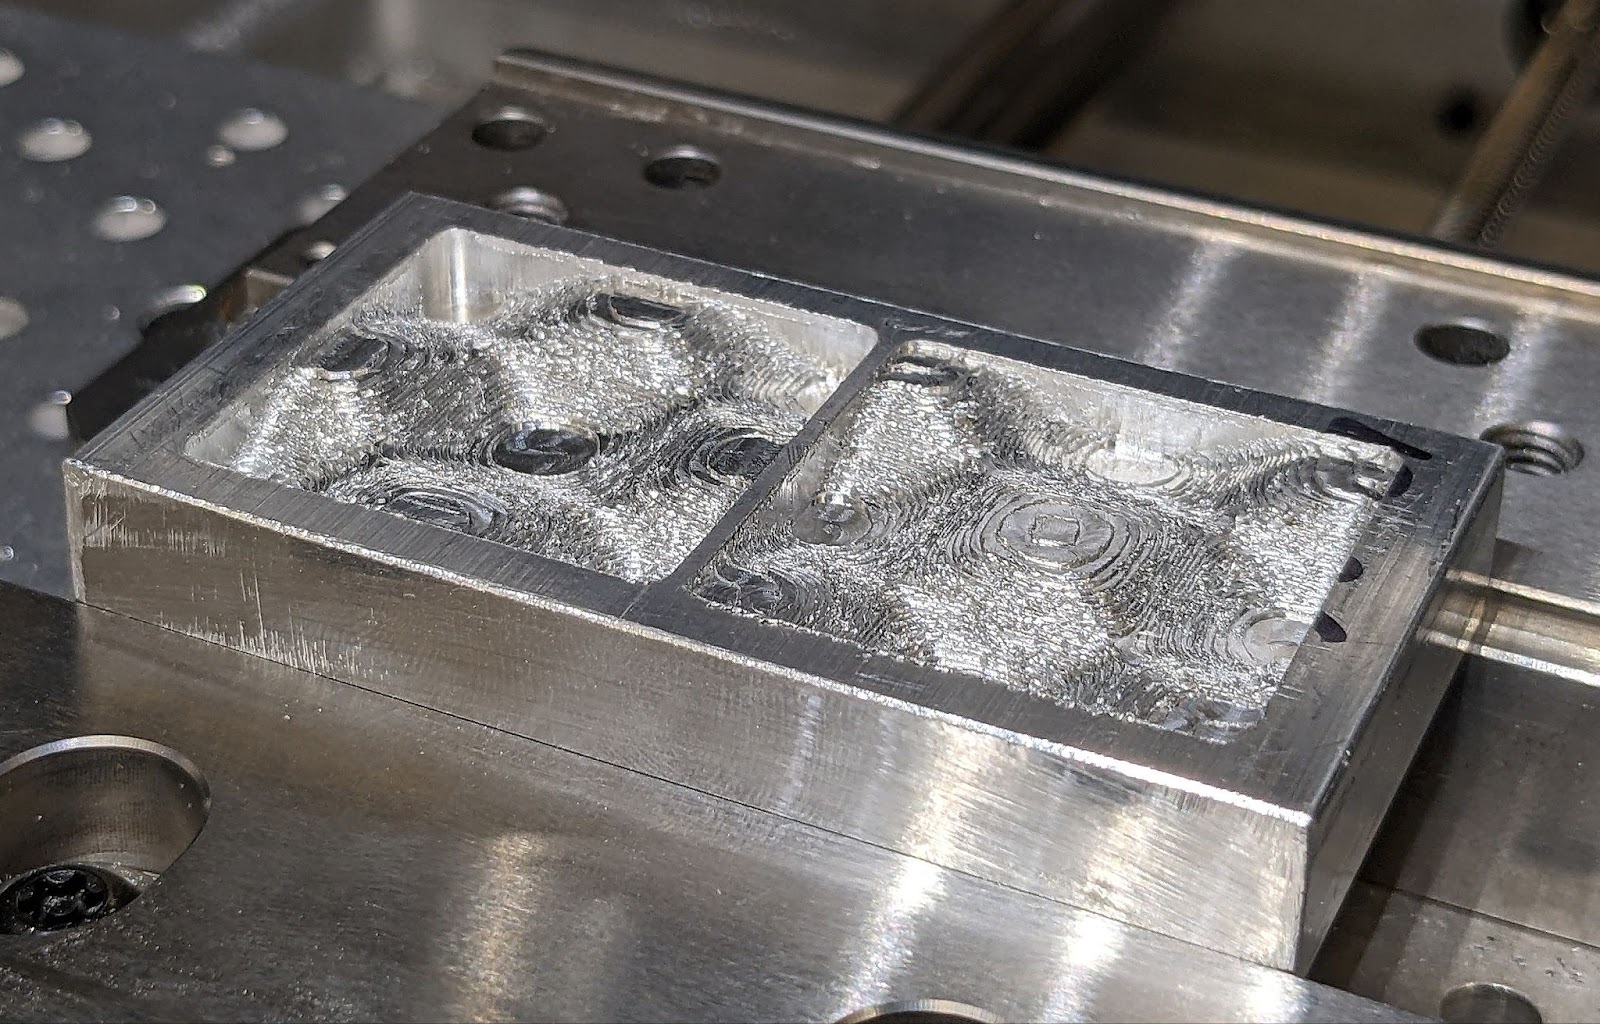
3D pocket finished
Rough 3D shape achieved by 3D pocket operation
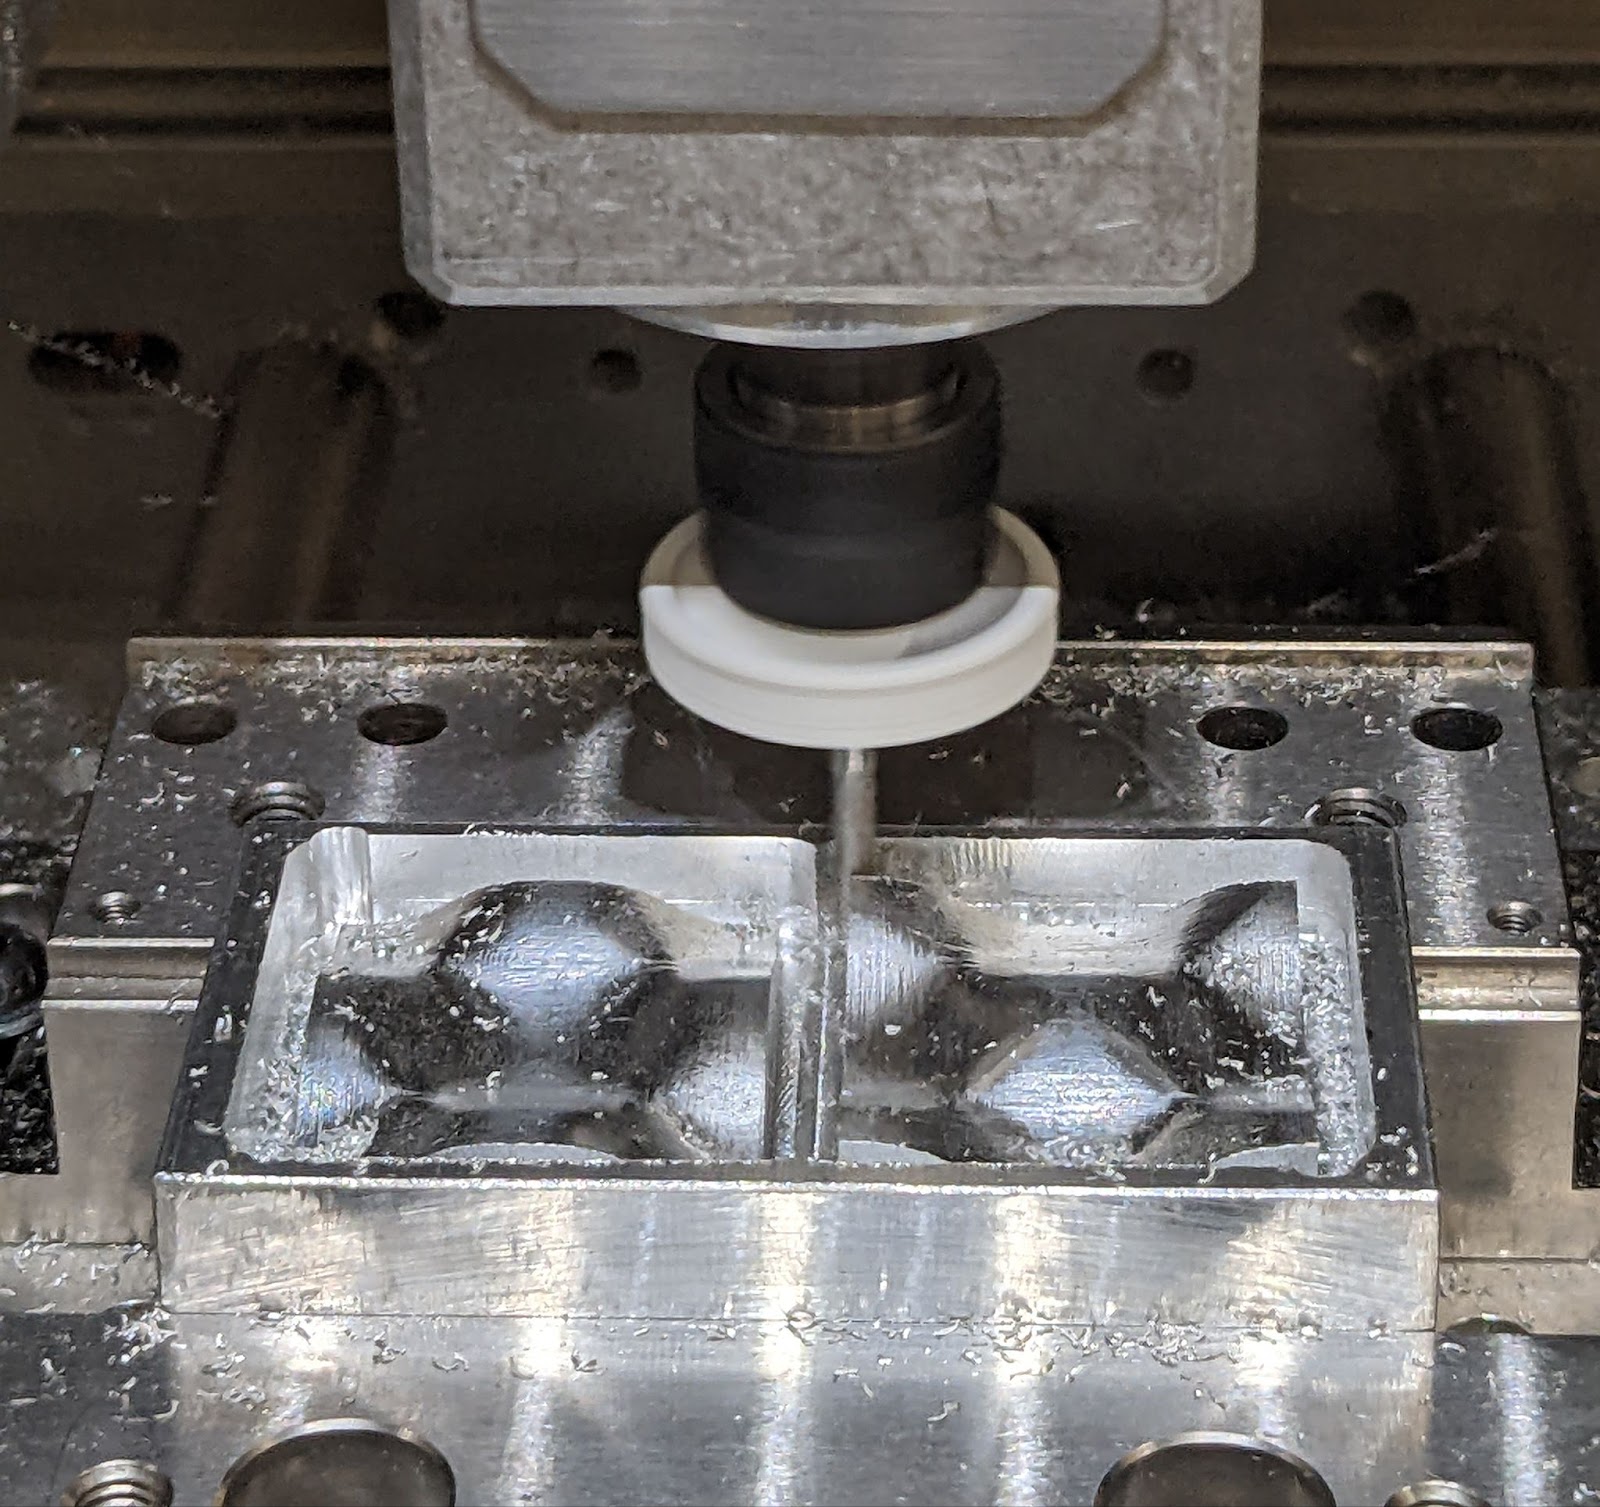
Morphed Spiral operation
- This cut was performed with a ⅛” ball end bit
- This milling strategy can be found under Manufacture > Milling > 3D > Morphed Spiral
- This operation produces a finishing passes that remove the material left by the 3D Pocket operation and leaves a smooth surface
- In this particular operation, the Machining Boundary was bound to the bottom square profiles of the model, and the Tool Containment was set to Tool center on boundary
- Both the Stepover and Maximum Stepdown were set to 0.15 mm
Simulation of the Morphed Spiral in fusion 360
Starting the first finishing pass
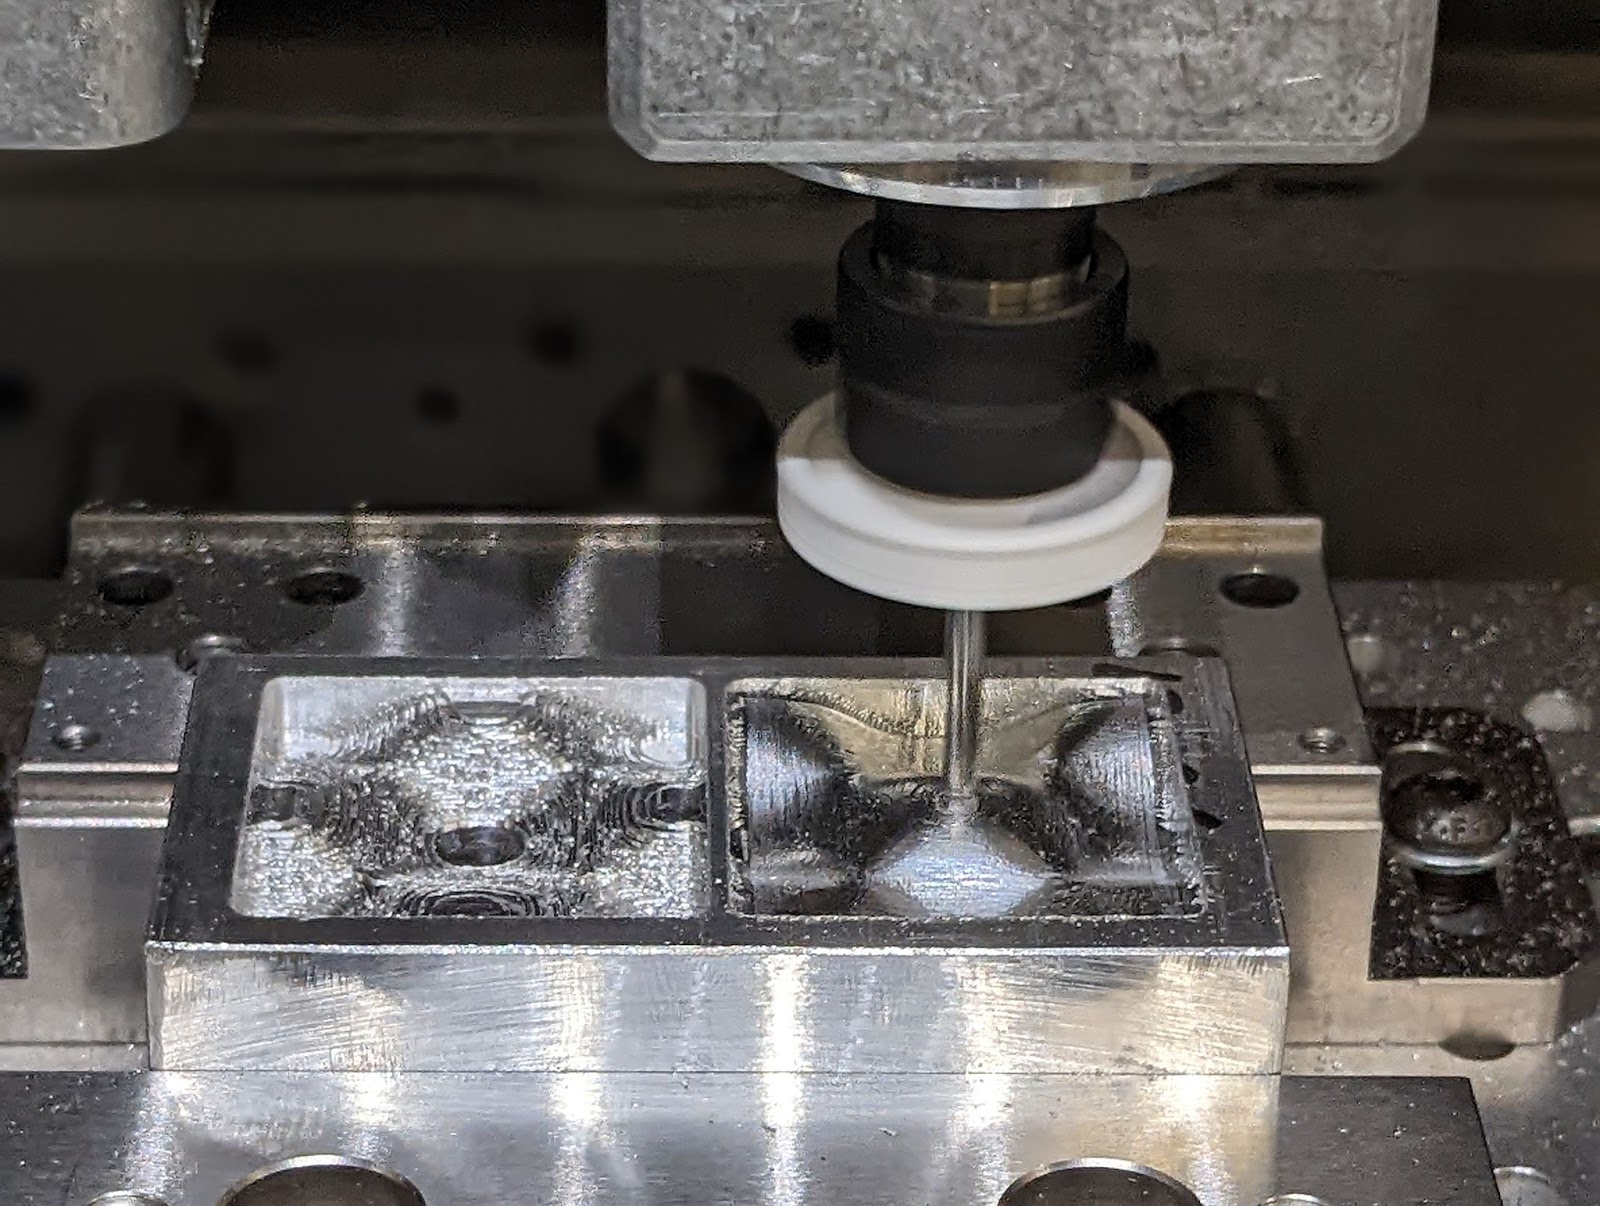
Starting the second finishing pass
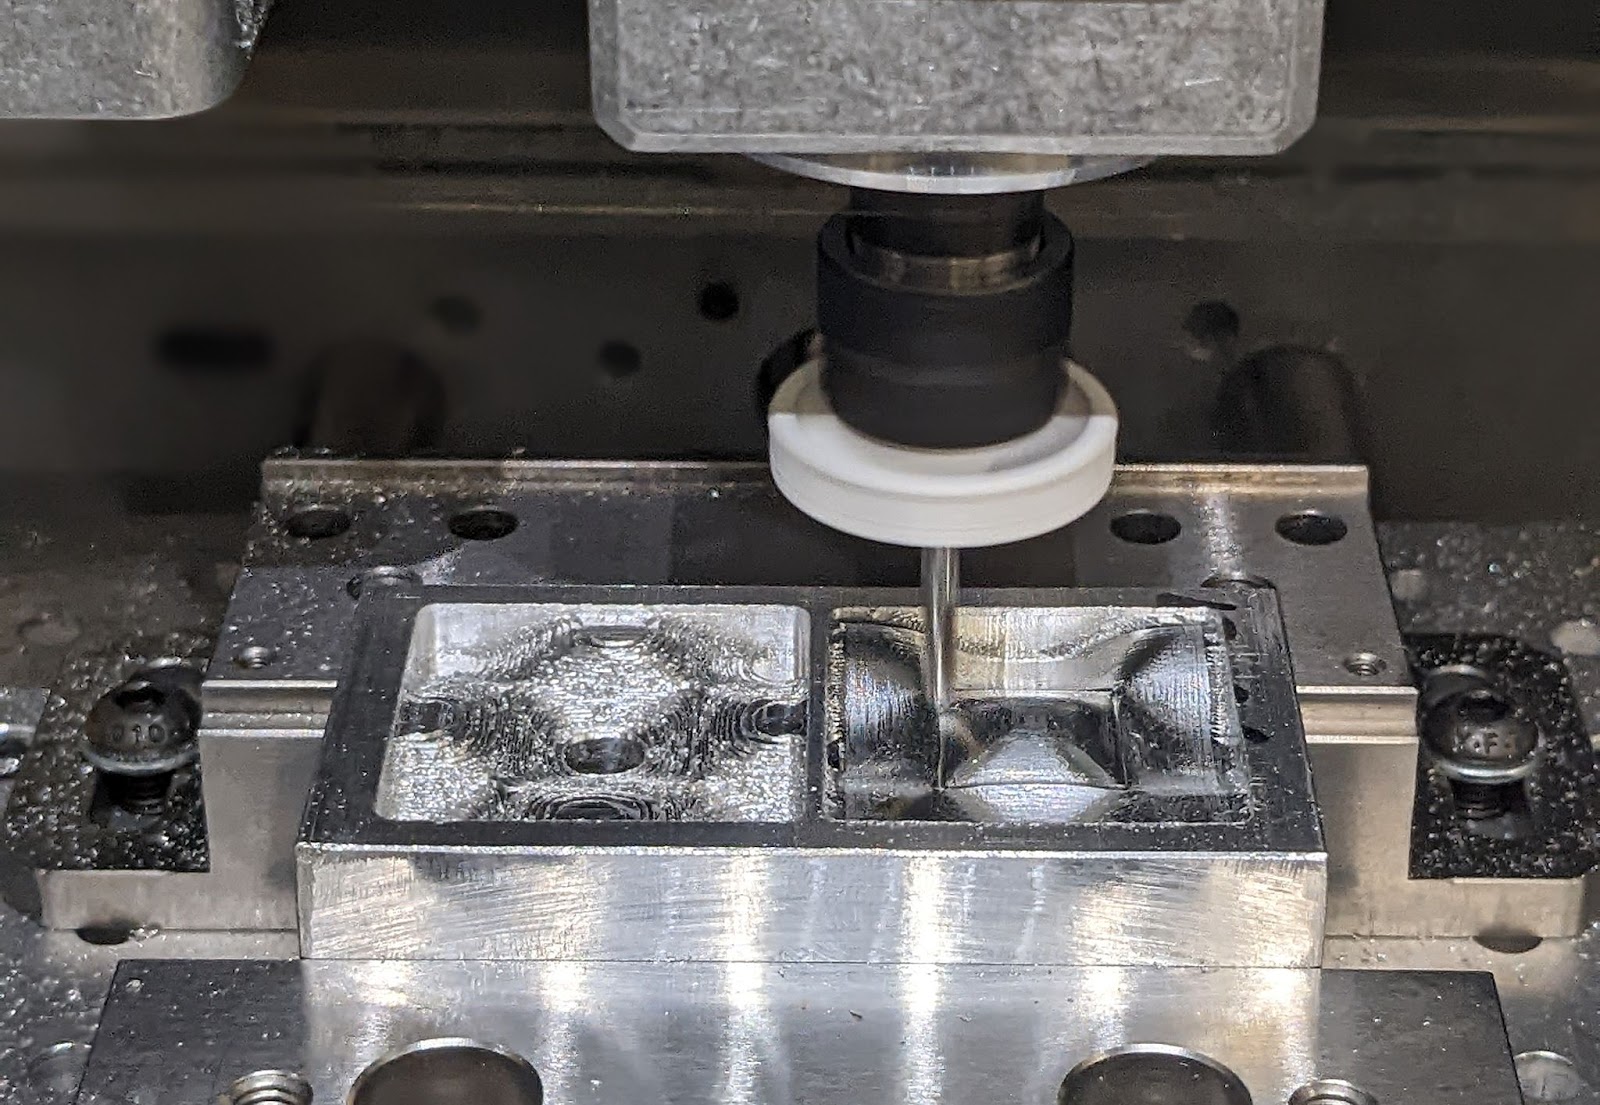
Halfway through the second finishing pass

Morphed Spiral operation finished
2D Contour operation
- This cut was performed with a ⅛” flat end bit
- This milling strategy can be found under Manufacture > Milling > 2D > 2D Contour
- It produces the vertical cuts that separate the pieces from the stock
- Each piece was set with 4 tabs to keep it in place once the operation was finished

Simulation of the 2D Contour in fusion 360
Halfway through the 2D Contour operation
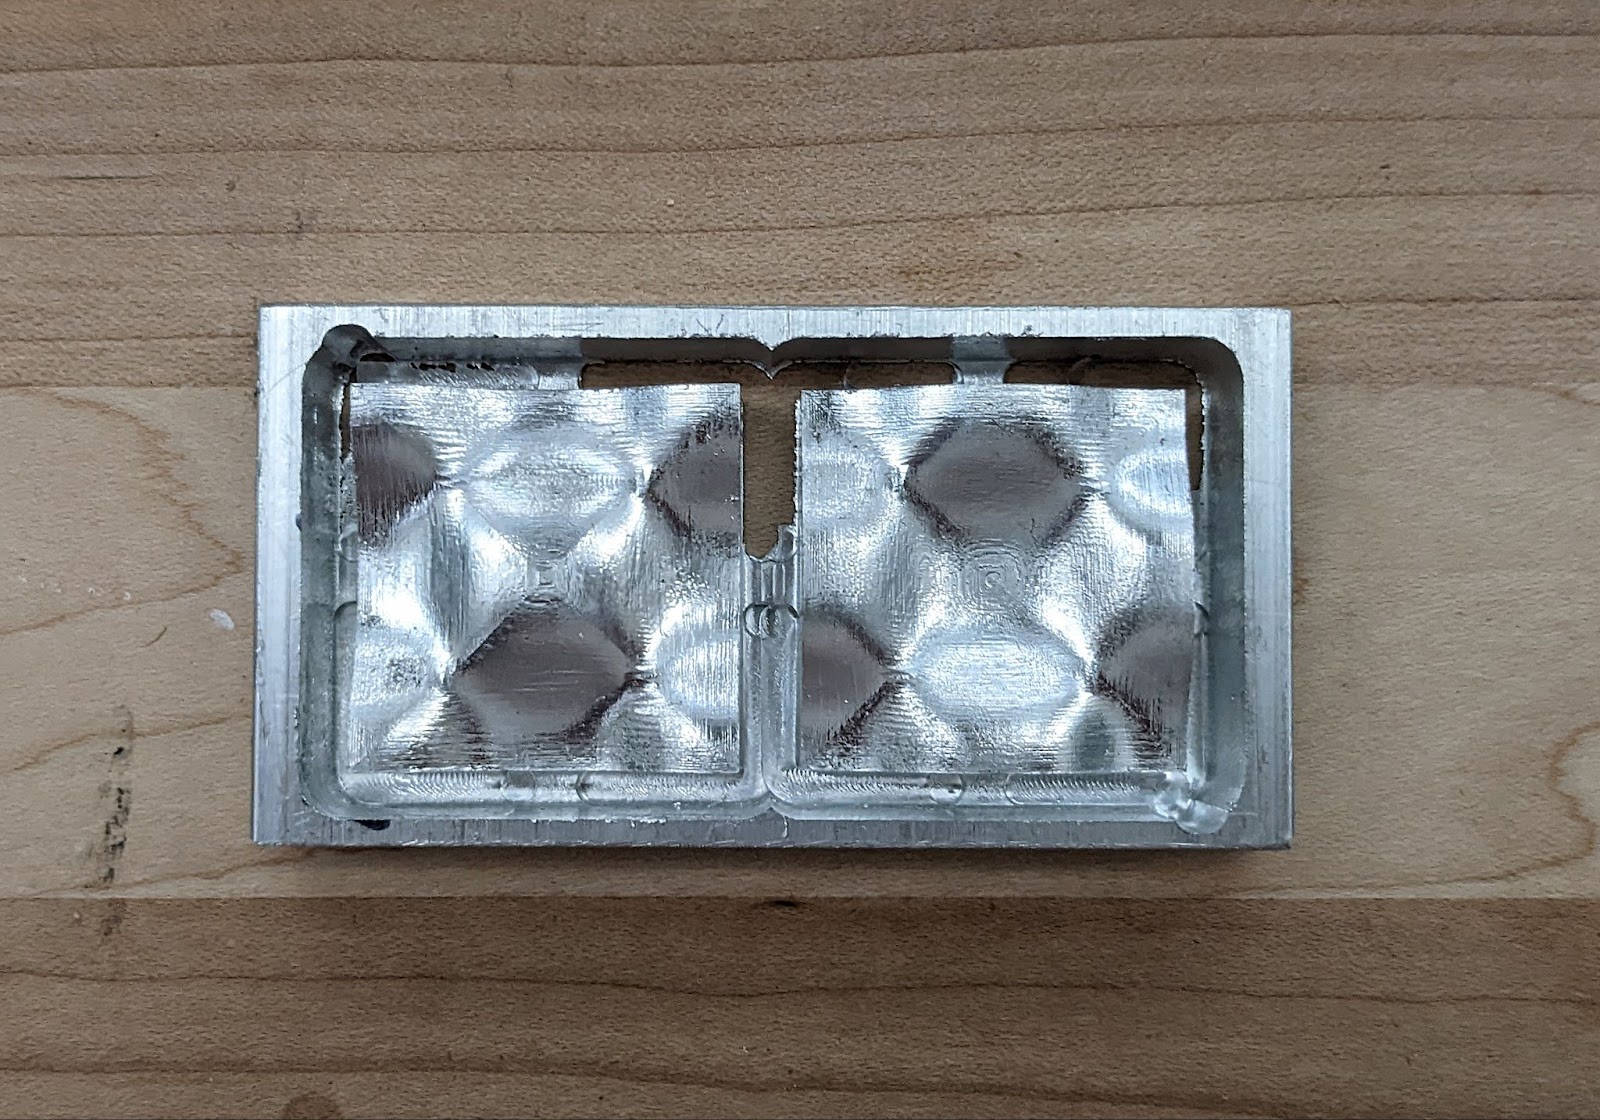
The finished piece, ready to be trimmed
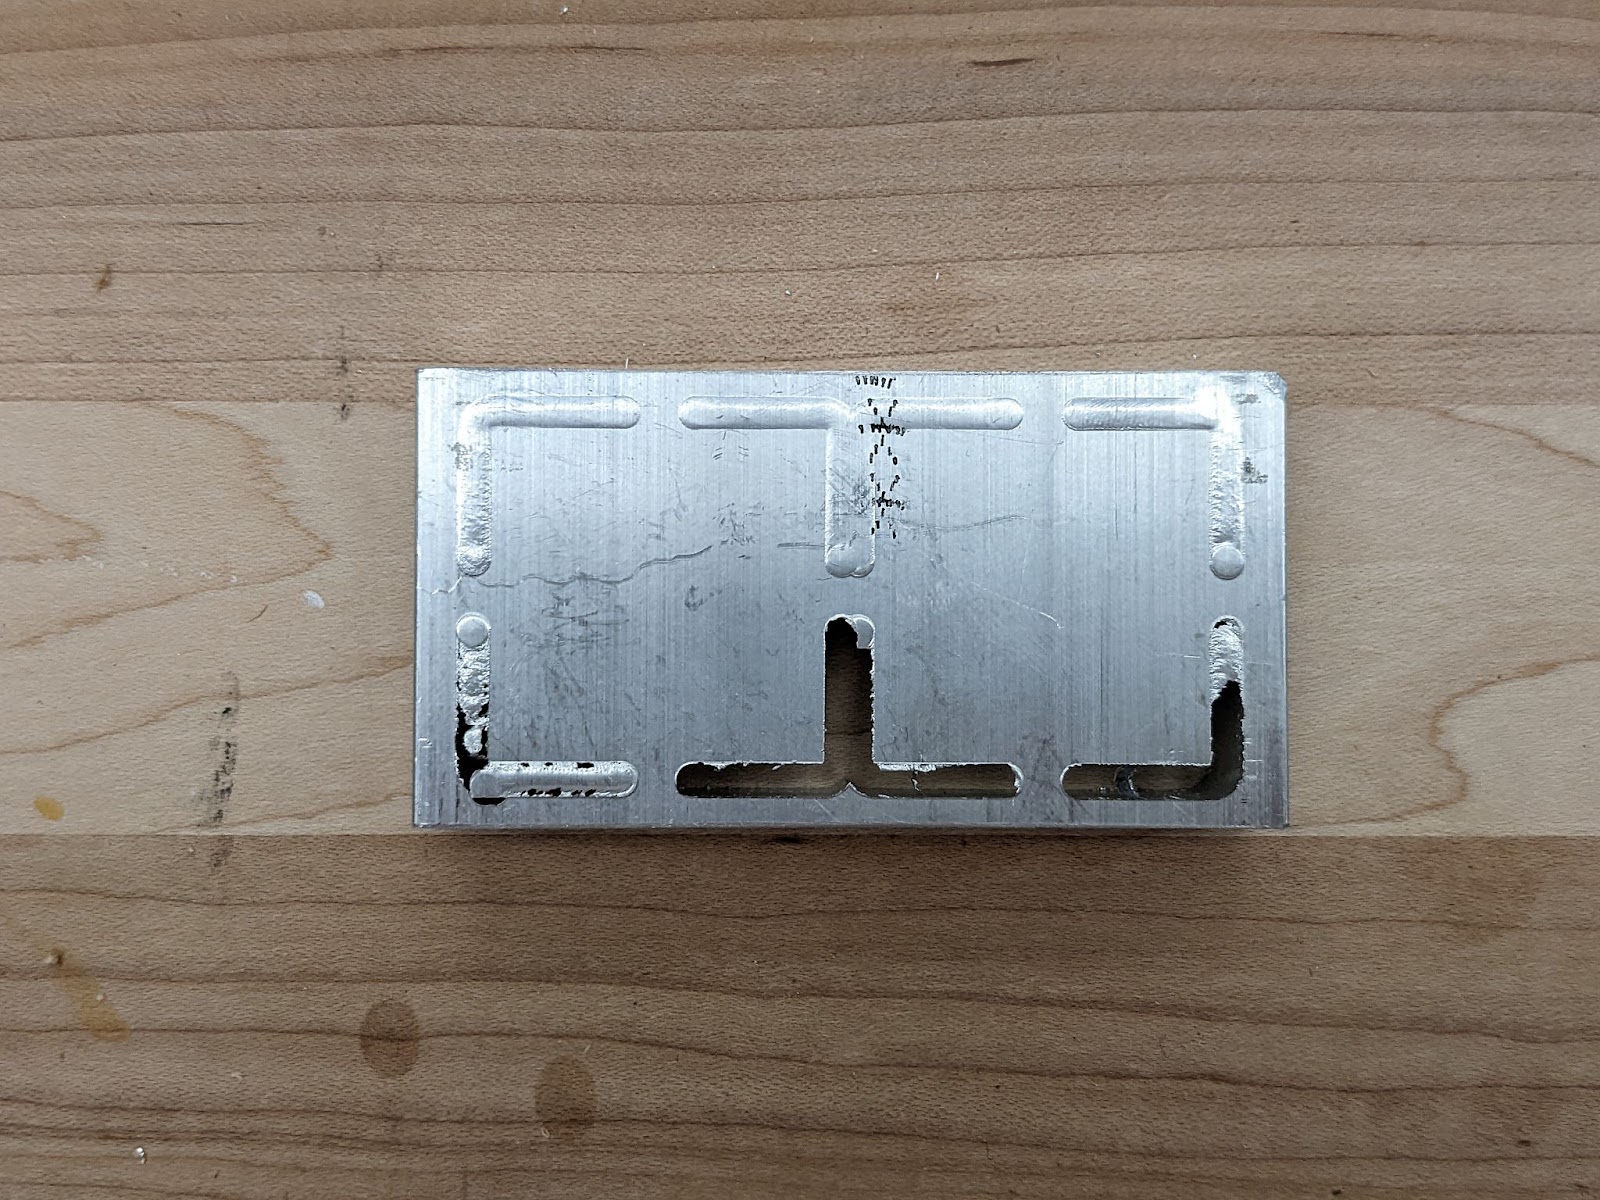
The underside of the finished piece
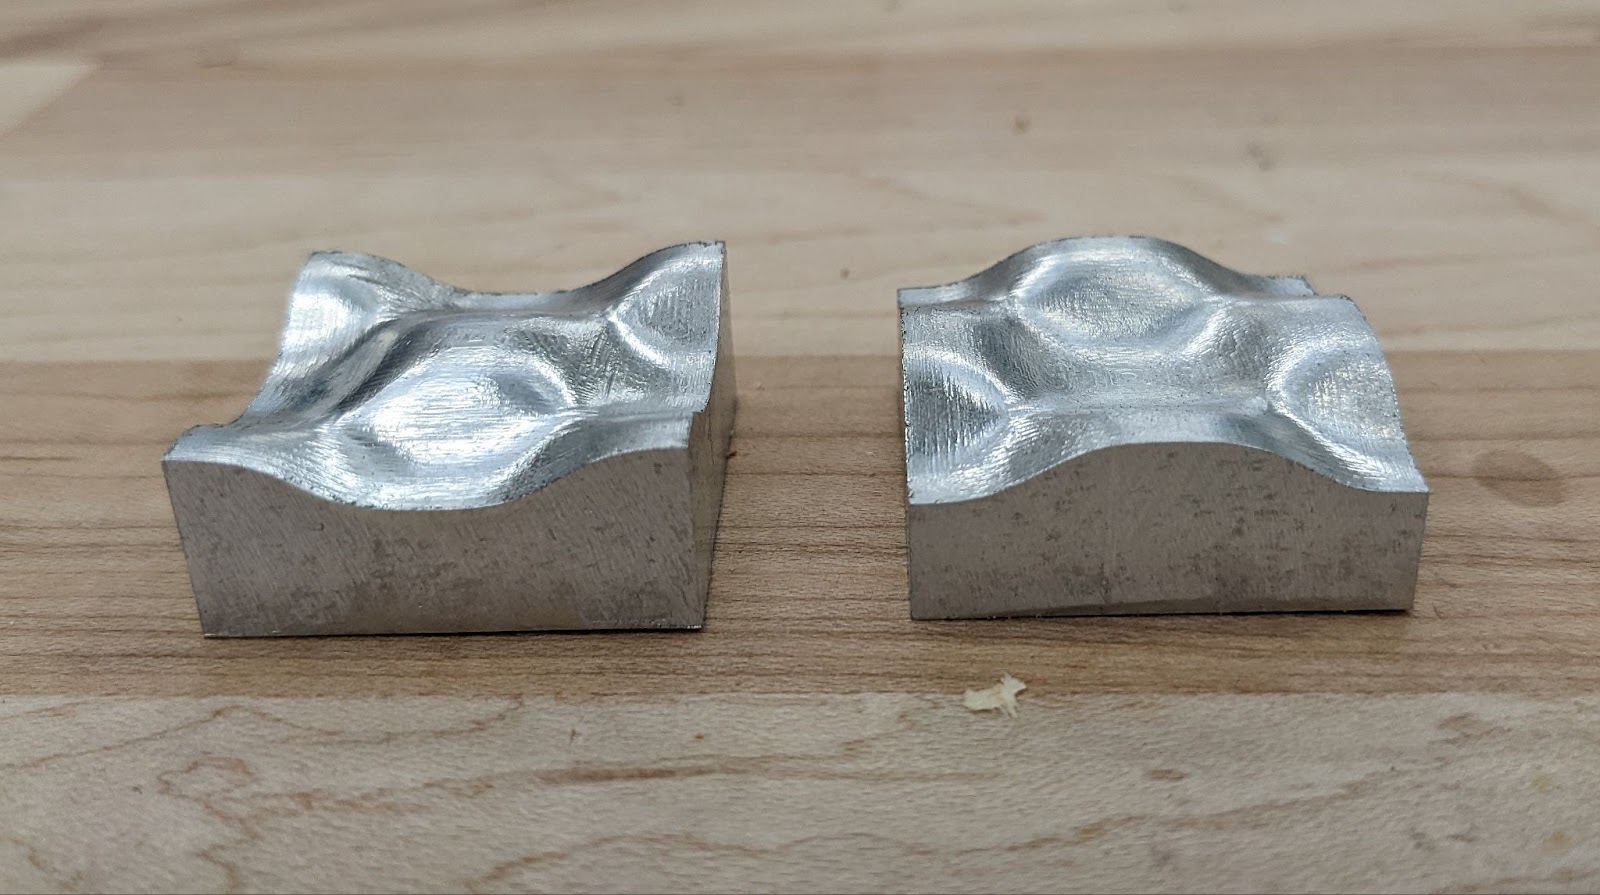
Finished parts, separated from the stock and tabs filled down

Final assembly