(1) Open VCarve Pro – ShopBot Edition
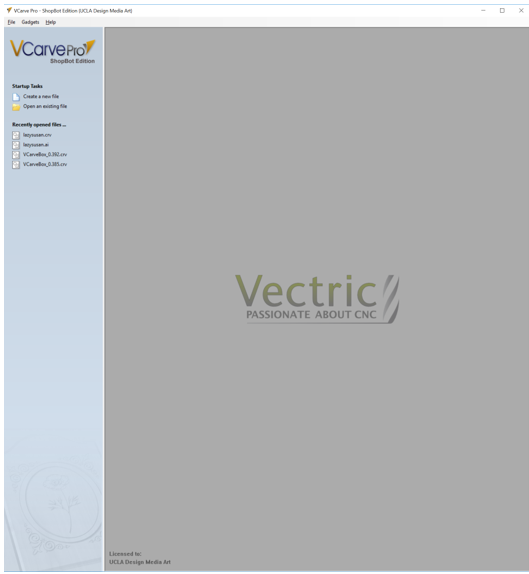
Click “Create a new file” or Open an existing file” to start editing your file.
(2) In this example, we are going to set up a new file. The white surface represents the size of your material on the CNC machine. You must set the desired width, height, and thickness within the program.
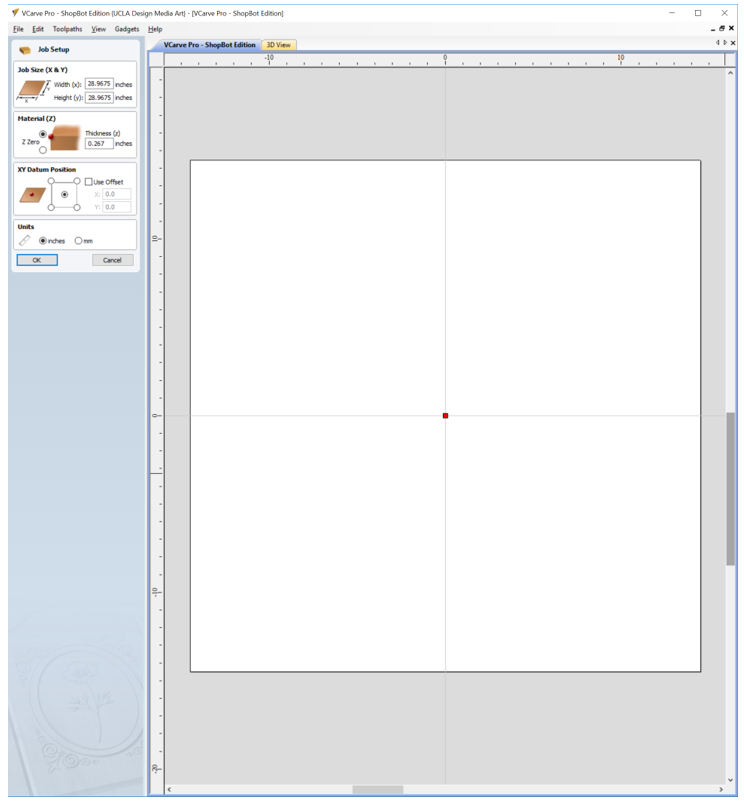
Look at the picture to determine which positions are width (x), height (y), and thickness (z), and positive direction(+) according to the machine.
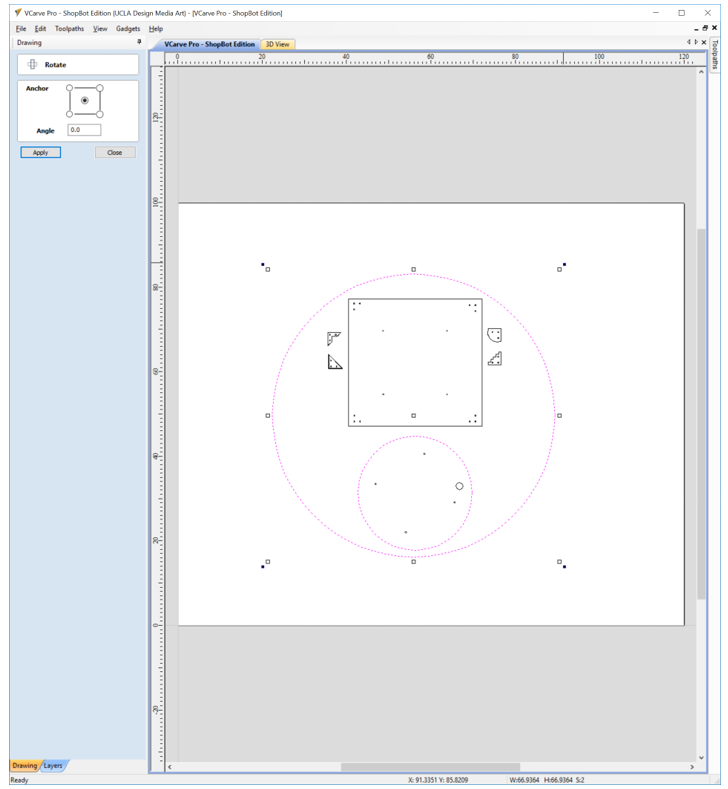
(3) After you finalize the settings for your material, the program will switch to the editor screen. You are now ready to import the vector file (ai. file) or create a new file in the program. Look at the picture for the essential information you should know in order to manipulate your vector file.
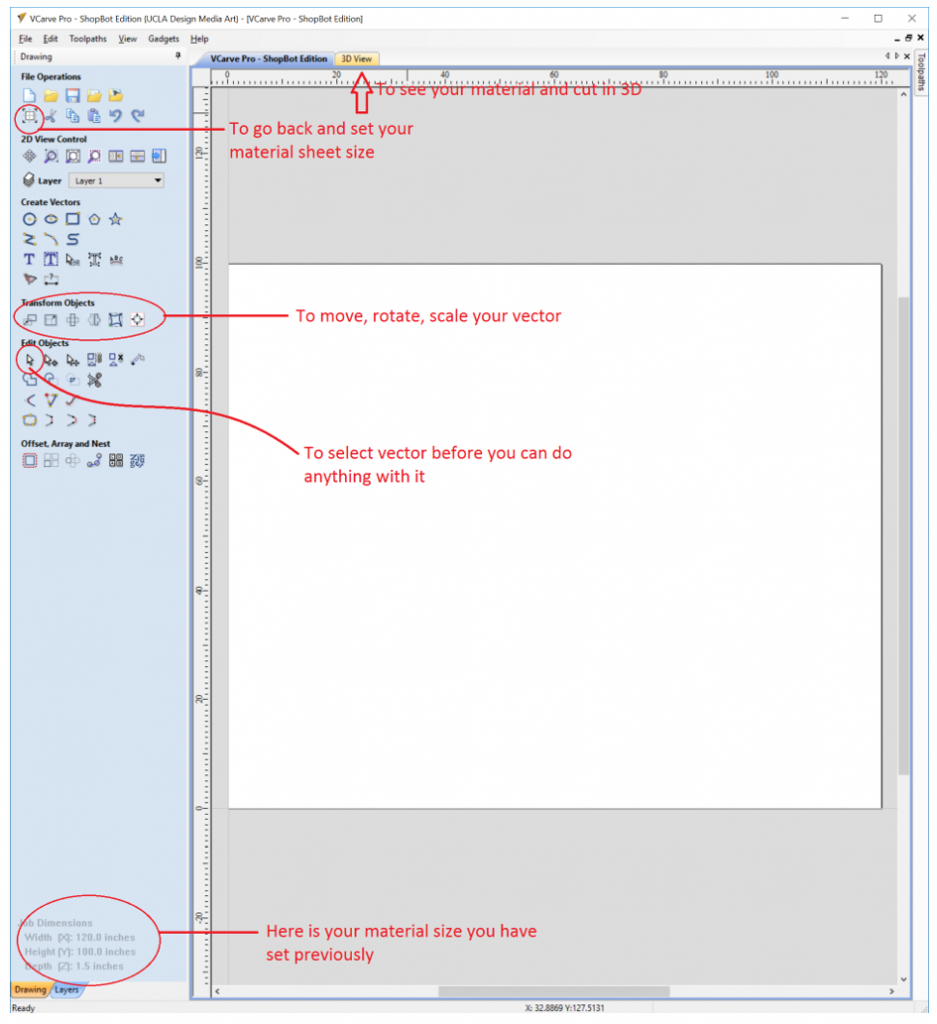
When you select the vector line it should turn vector to paths of pink dots
*Tip* You do not need to place your vector at the center of the sheet. To not waste your material, sometimes it’s best to place the vector close to the 0,0 point with some extra space around it (around an inch of room around the cut should be good).
(4) The function to create “Toolpaths” is hidden on the right panel. You can “pin” it so it won’t close automatically when you click on somewhere else.
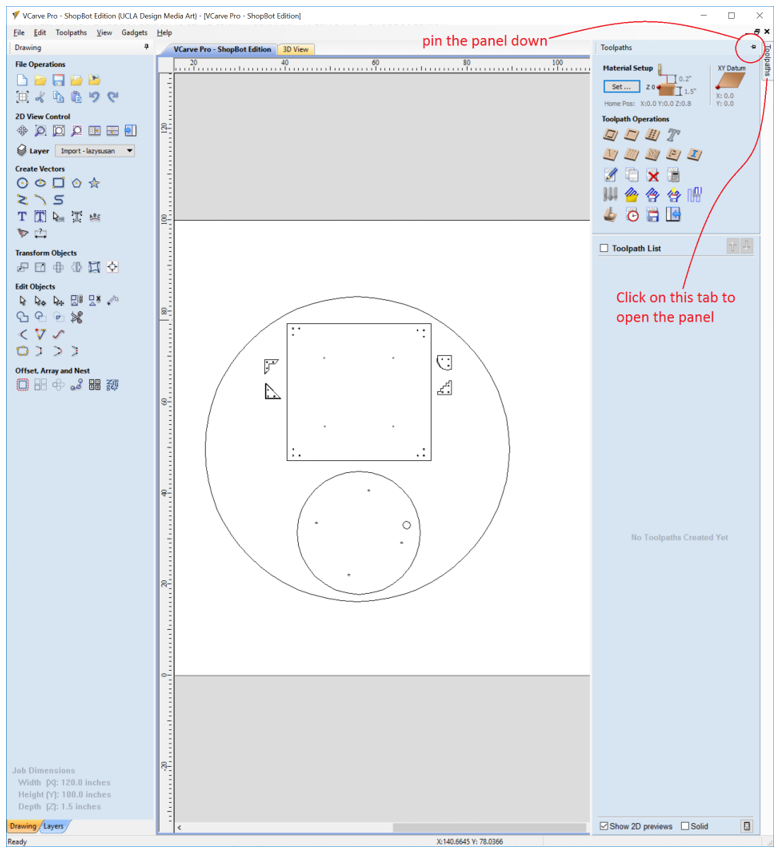
Here is the short explanation of each Toolpath and some important functions you will need to know.
(5) After you select vectors and which type of toolpath you want to run, the interface will change to that tool’s property panel. Basic setting information is listed here.